Capy60 Build Guide
Kit Contents:
6063 Aluminum Top Case (anodized or coated)
6063 Aluminum Bottom Case (anodized or coated)
Stainless Steel Weight (bead blasted)
5052 Aluminum Plate (anodized black)
Bowl Microfiber Drawstring Bag
Capy Carrying Case
12x Grommets (4x extras)
4x Feet
C4 Daughterboard and JST to Molex and Molex to Molex Cables
Sticker
Auth/Build Guide Card

Procedure:

Step One:
Remove 6x case screws (M2.5 hex driver) and place top case to the side
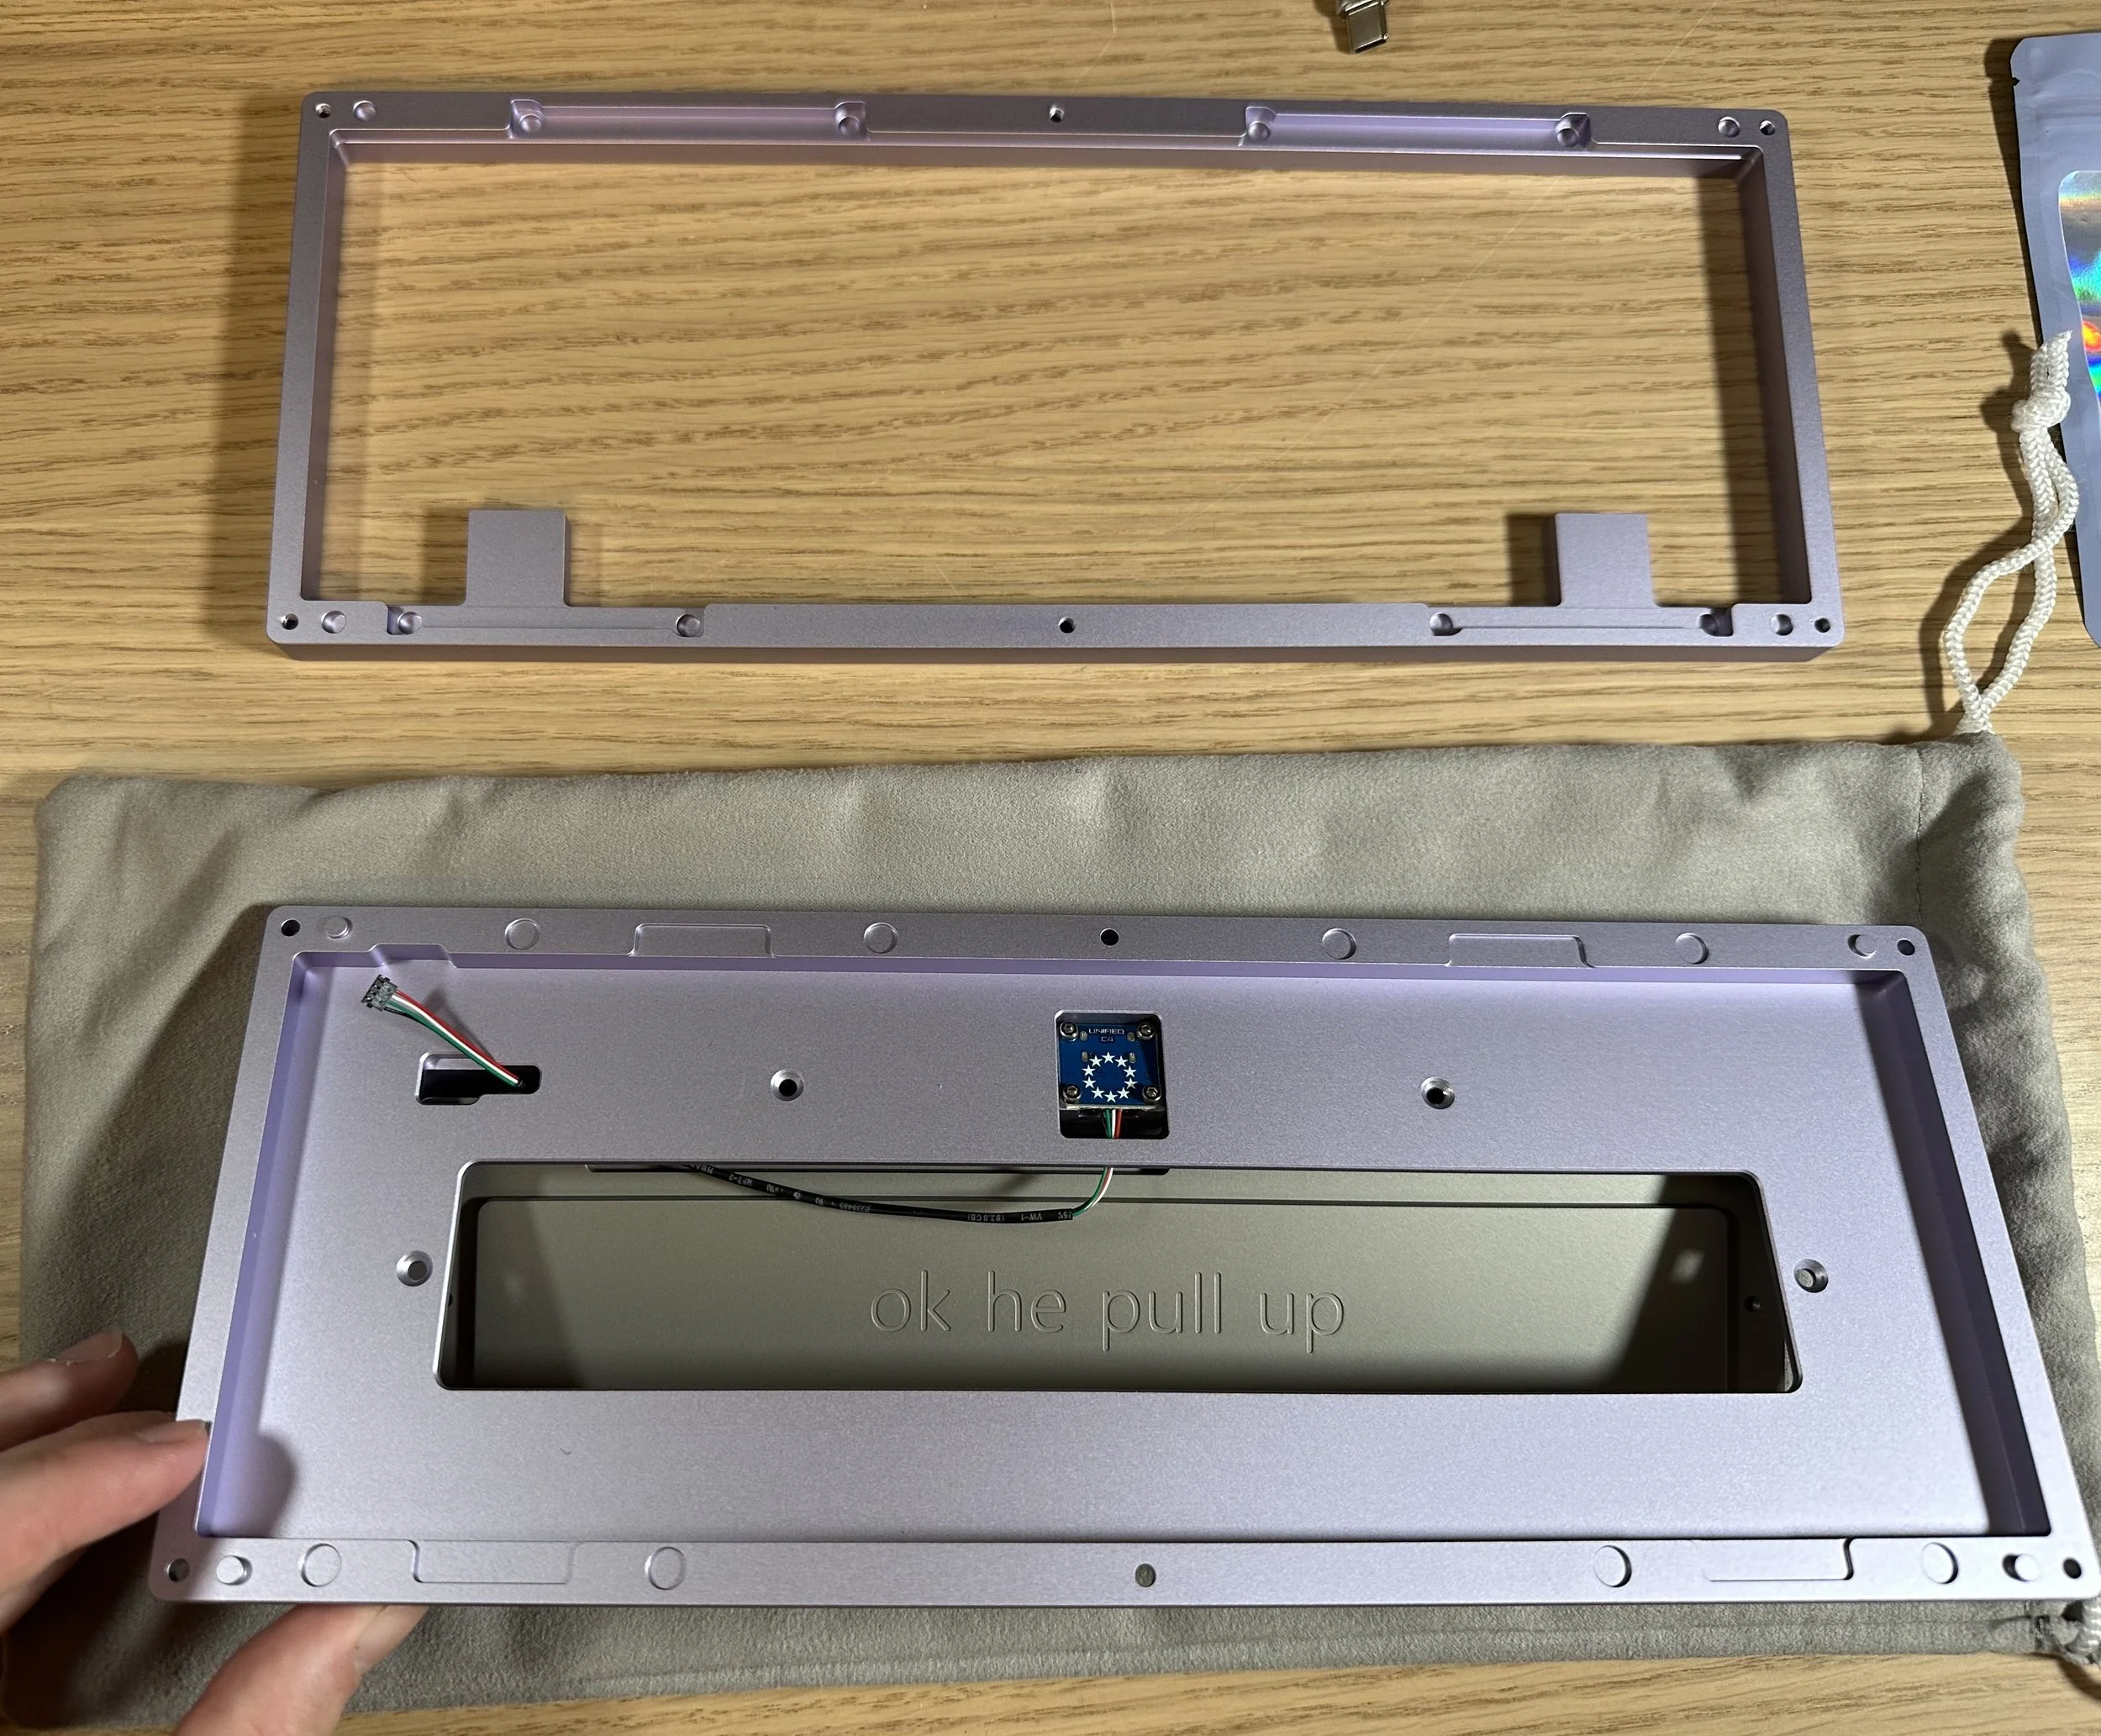
Step Two:
Remove 4x weight screws (M2.0 hex driver) and place weight to the side. Remove 4x Daughterboard screws (M1.5 hex driver) and place daughterboard (usb side down) in slot and replace the screws

Step Three:
Replace the weight in the case. To assist the cable into the slot I recommend first putting the Molex or JST connector through the bottom of the case and then tilting the bottom case upwards so that the cable can be guided into the slot in the weight as you lower the bottom case down into position. Now, replace the 4x weight screws

Step Four:
After assembling the plate and PCB with your favorite switches place the grommets into the “arms” on the plate. The larger part of the grommet goes downwards (as shown below)

Step Five:
Place plate and PCB assembly into the bottom case, aligning the grommets into their guide holes


Step Six:
Put on your favorite keycaps and enjoy!
